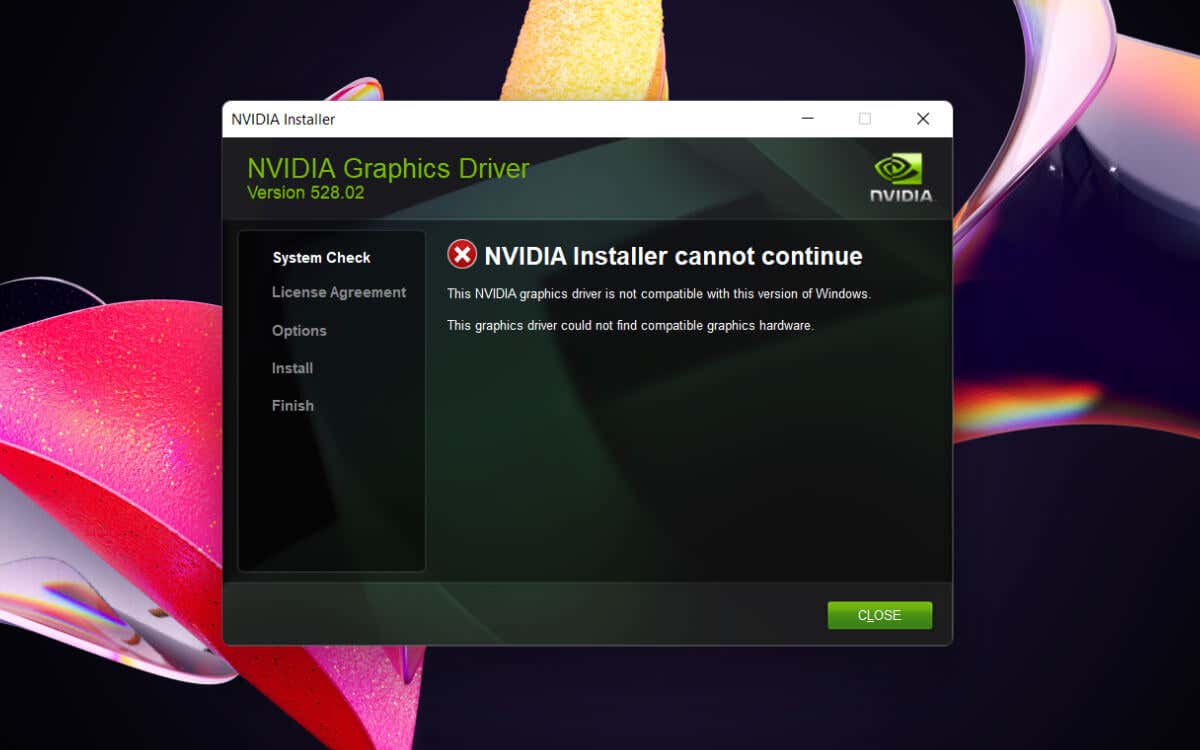
Several techniques can help you fix the “NVIDIA Installer cannot continue” error on Windows 10 and 11. This troubleshooting guide will walk you through each of them step by step.
Quit All NVIDIA Background Processes
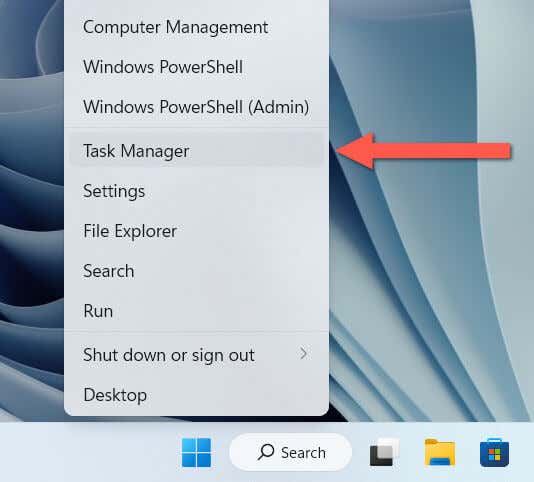
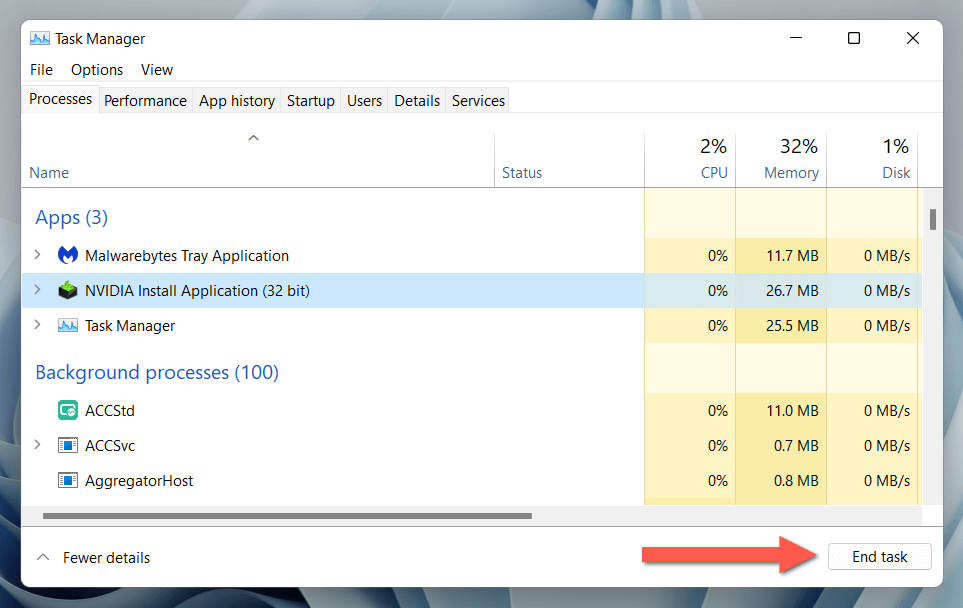
It’s a good idea to begin by quitting all NVIDIA background processes on your Windows PC. That should clear random anomalies preventing the NVIDIA installer from completing an accurate compatibility check. To do that: If the NVIDIA installation fails again, reboot your computer to clear out the hardware driver cache before moving on.
Temporarily Pause Anti-Malware Software
If you continue to have difficulty running the NVIDIA installer, it might be caused by third-party antivirus software interfering with how it works. In case you have one set up on your computer, temporarily pause it for the duration of the update and see if that resolves the issue.
Update to the Latest Version of Windows
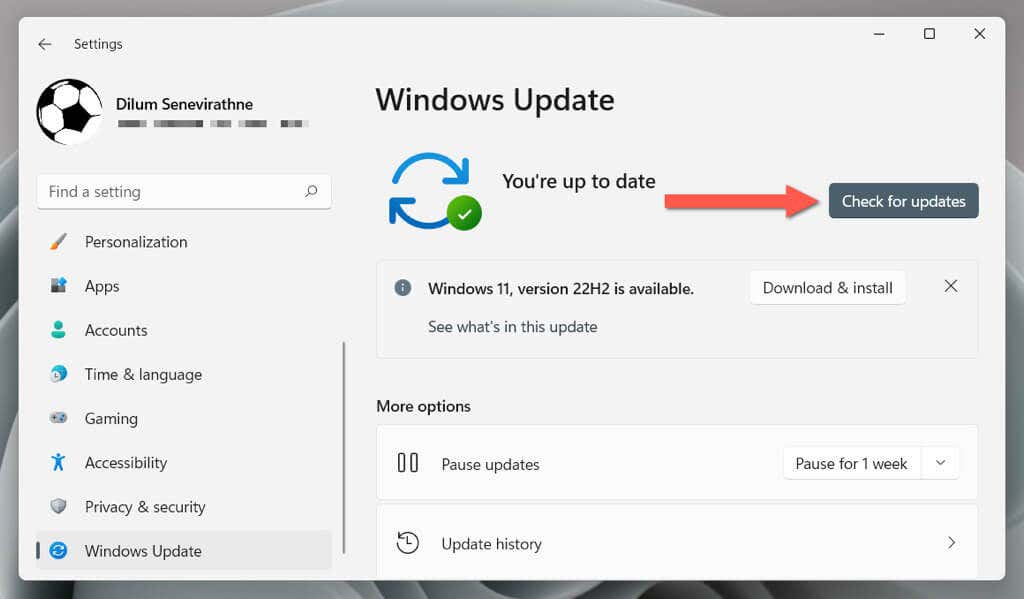
If the “NVIDIA Installer cannot continue” error appears right after a fresh Windows installation, check if there are pending operating system updates you’ve yet to download and install. To do that: Additionally, you must install all available hardware driver updates from Microsoft. To do that, go to Advanced options > Optional updates from the Windows Update screen, check the boxes next to each driver, and select Install.
Re-Download the NVIDIA Driver Software
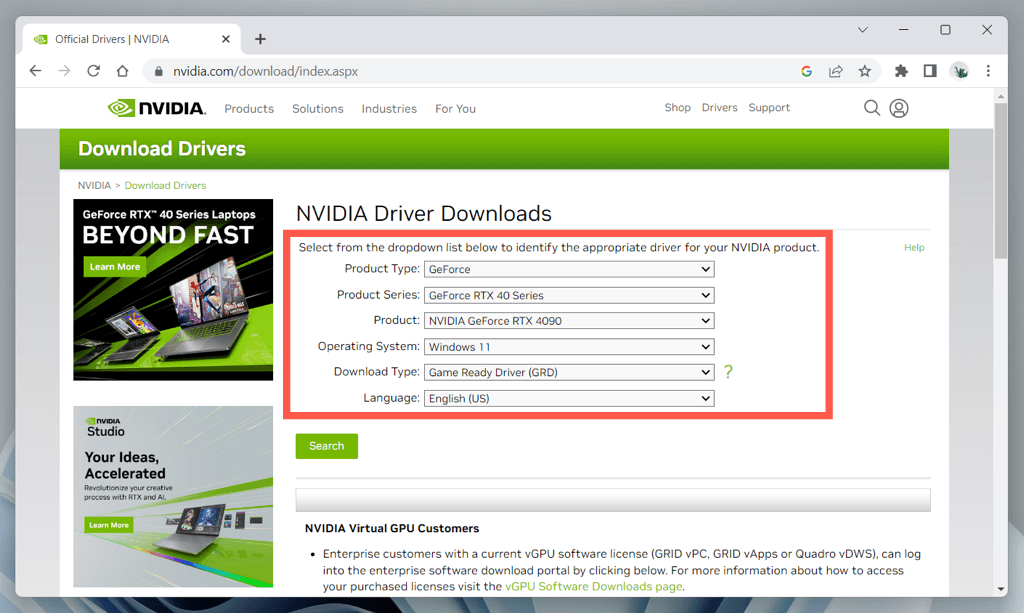
Mistakenly downloading and attempting to install an incompatible NVIDIA graphics driver version is a common reason for the “NVIDIA Installer cannot continue” error. Revisit the NVIDIA Downloads page, specify the correct video card model and operating system, re-download the NVIDIA driver installer, and try again.
If that doesn’t help, use NVIDIA GeForce Experience or a third-party hardware driver update utility to auto-detect and fetch the appropriate drivers for your NVIDIA hardware.
Update Laptop Drivers Through Manufacturer
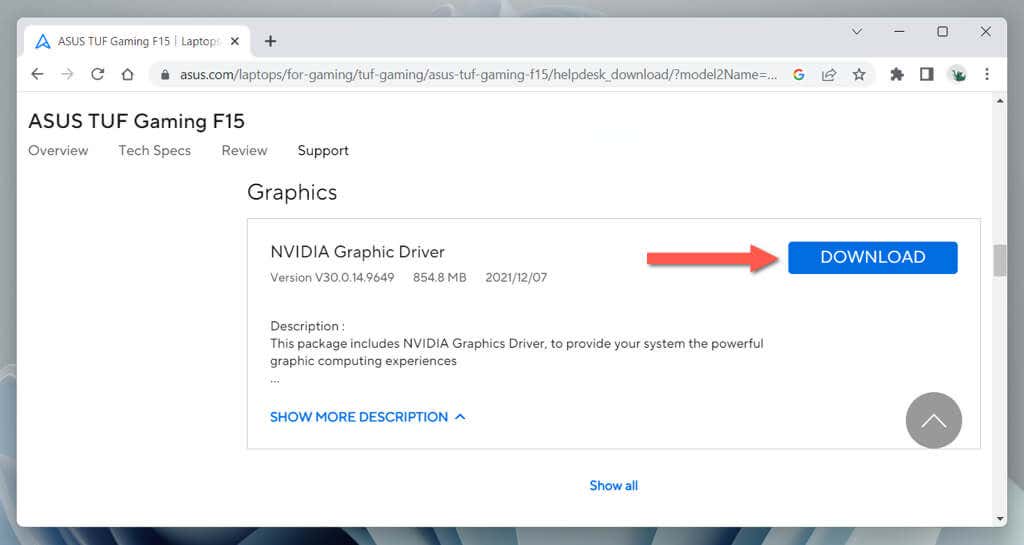
If you use a laptop device with an NVIDIA graphics card, such as an ASUS TUF Gaming F15, using graphics drivers directly from the manufacturer could help avoid compatibility issues. Just search for your laptop model on the manufacturer’s website, download the relevant NVIDIA graphics driver for your Windows version, and check if the same error occurs during installation.
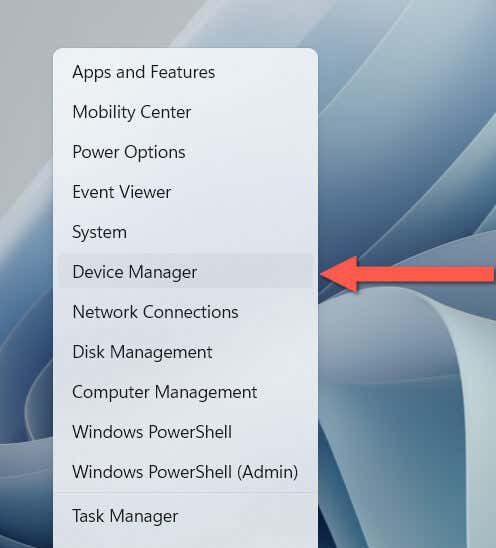
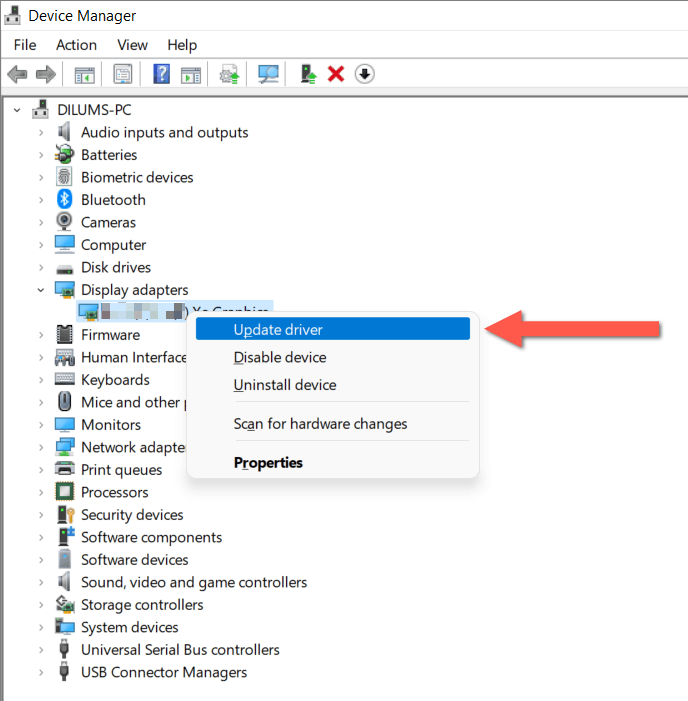
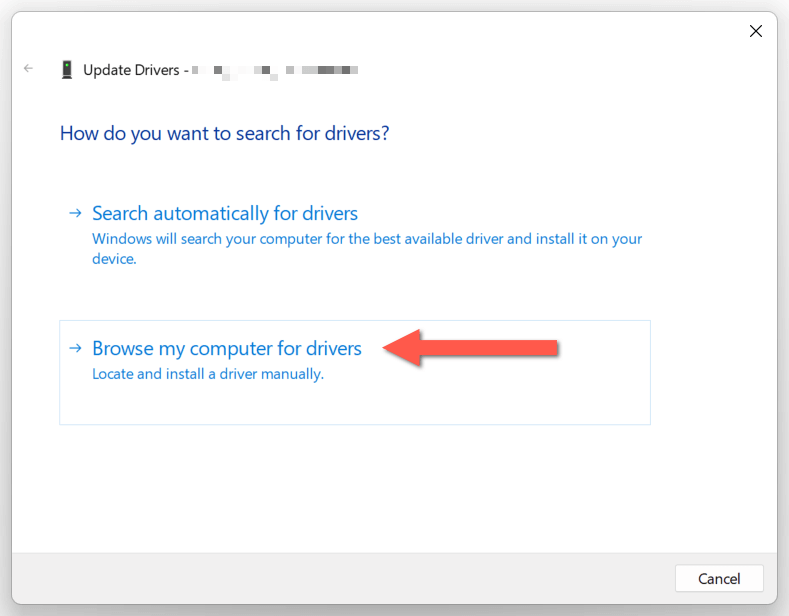
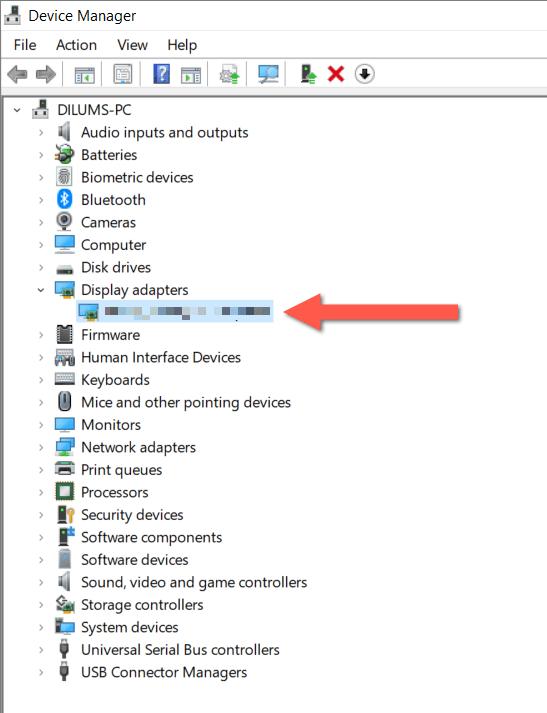
Install NVIDIA Drivers via Device Manager
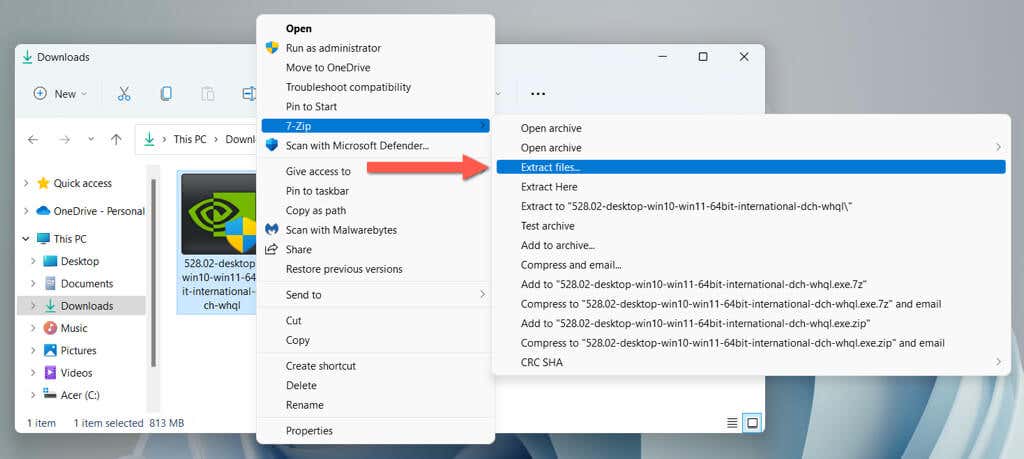
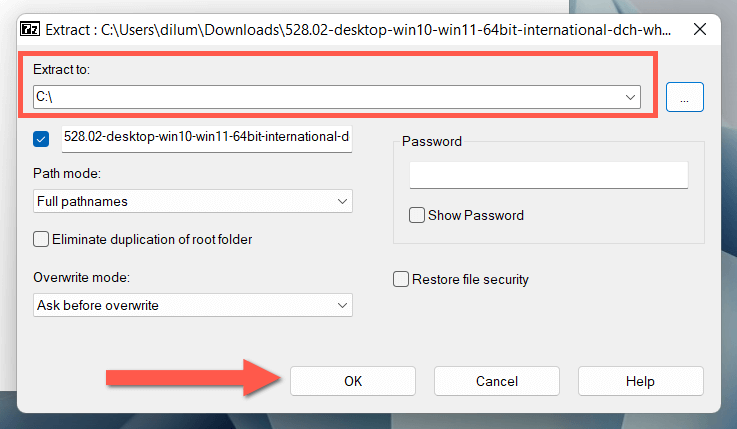
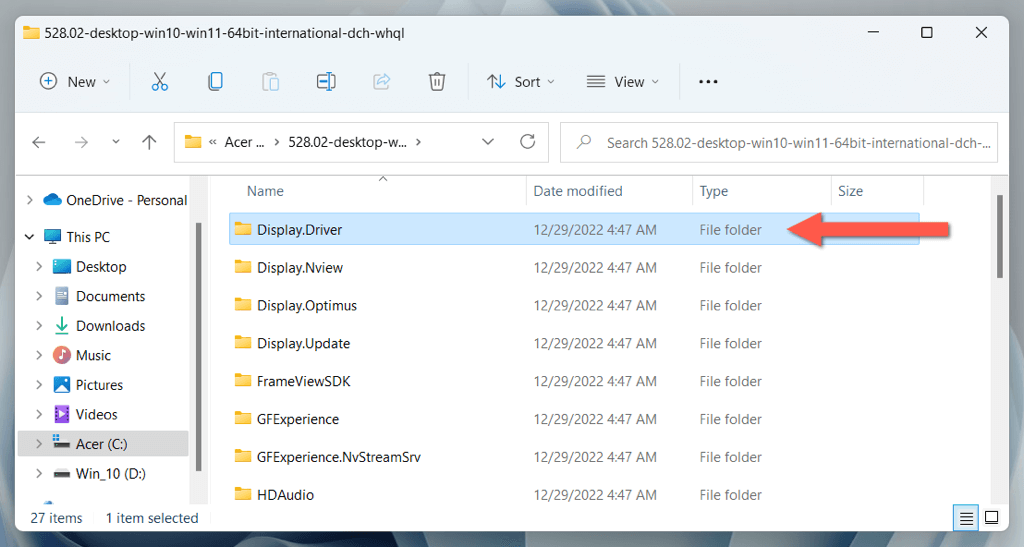
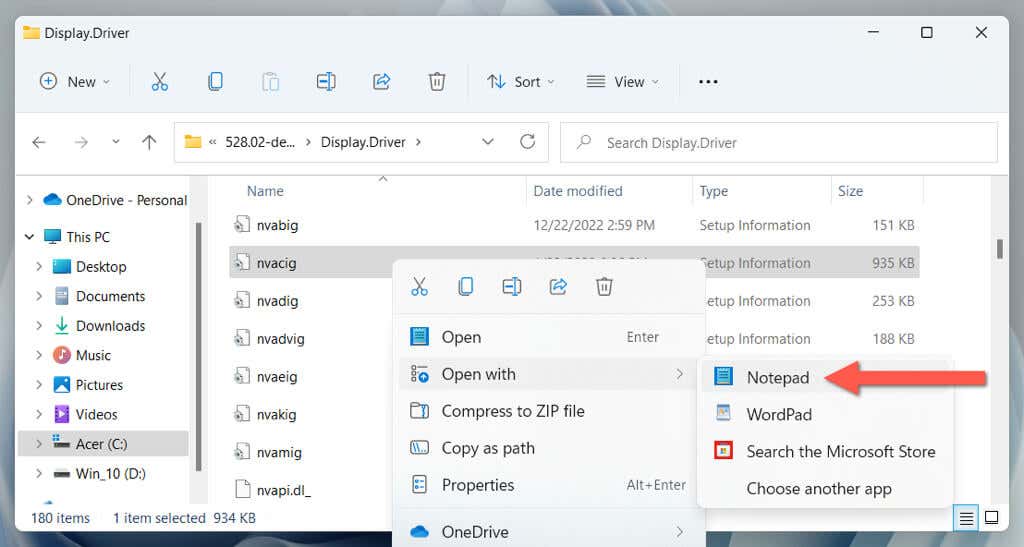
If the “NVIDIA Installer cannot continue” error persists, try installing the NVIDIA drivers through the Device Manager. Install the 7-Zip file archival and extraction utility, and then:
Fix NVIDIA Installer Incompatibilities
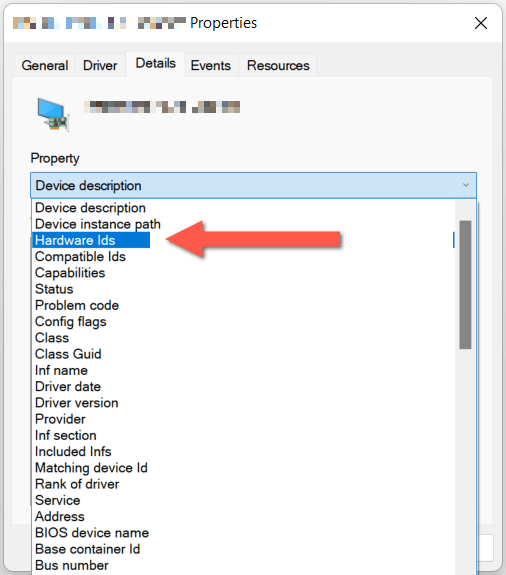
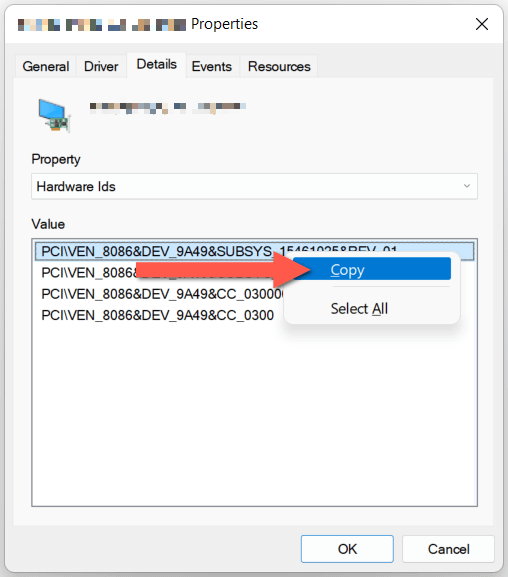
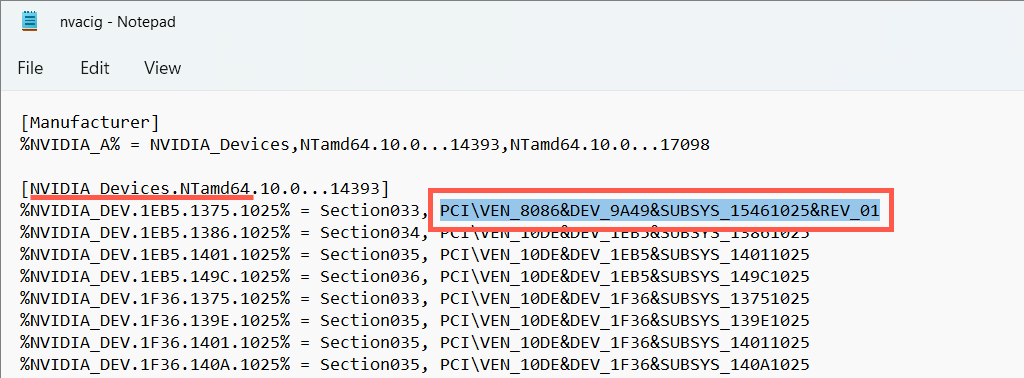
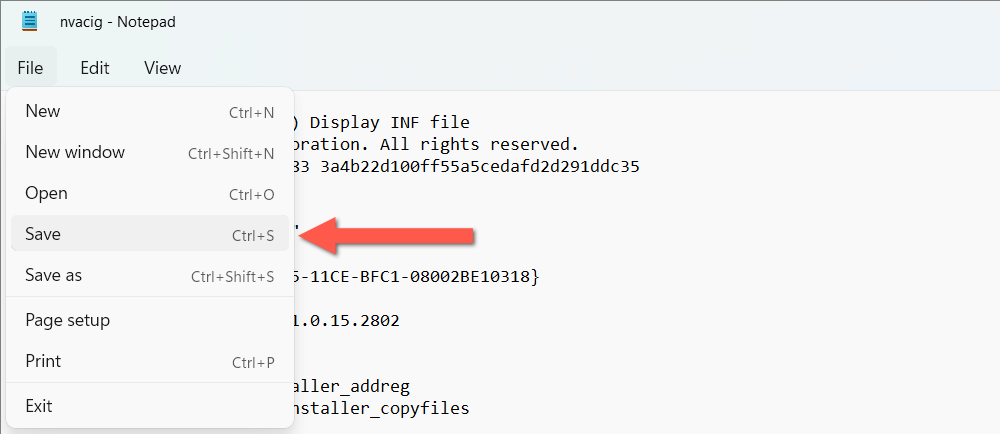
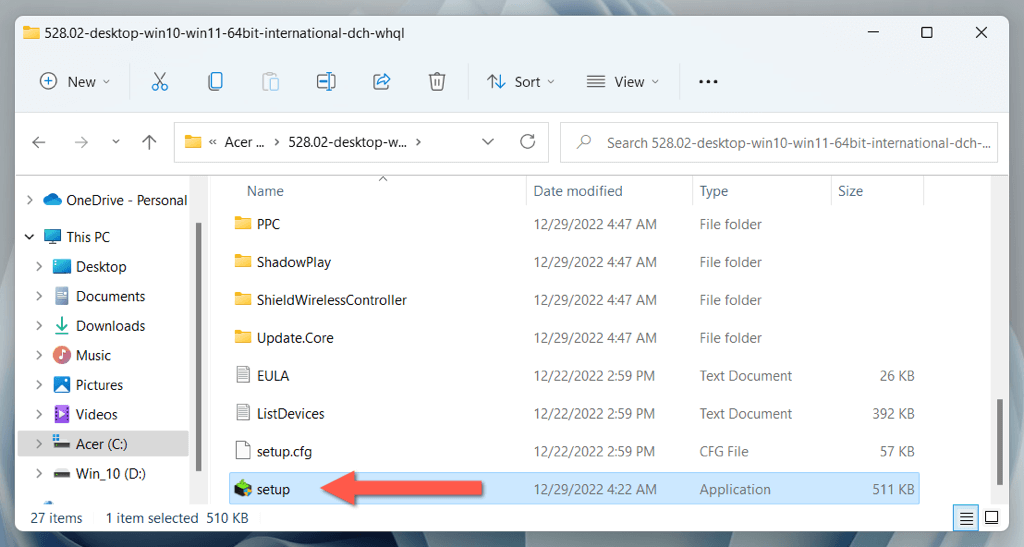
If the “Nvidia Installer cannot continue” error keeps popping up despite using the correct installer for your NVIDIA graphics adapter, you could try force-installing the drivers by adding the relevant hardware identifiers.
Warning: Installing a potential mismatching hardware driver could destabilize the system, so we recommend you create a Windows restore point before proceeding.
Rename the NVIDIA Folder
Next, rename the folder that houses the NVIDIA software on your PC—e.g., the NVIDIA Control Panel.
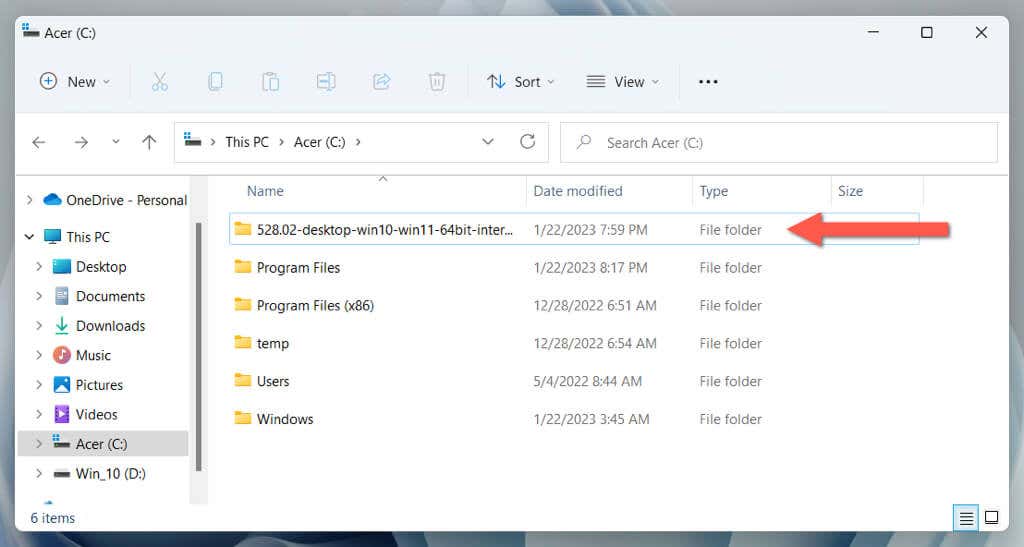
To do that, visit Local Disk C > Program Files via File Explorer, right-click the folder labeled NVIDIA Corporation, and select Rename. Then, change the folder name to NVIDIA Corporation.old, press Enter, and run the NVIDIA installer again.
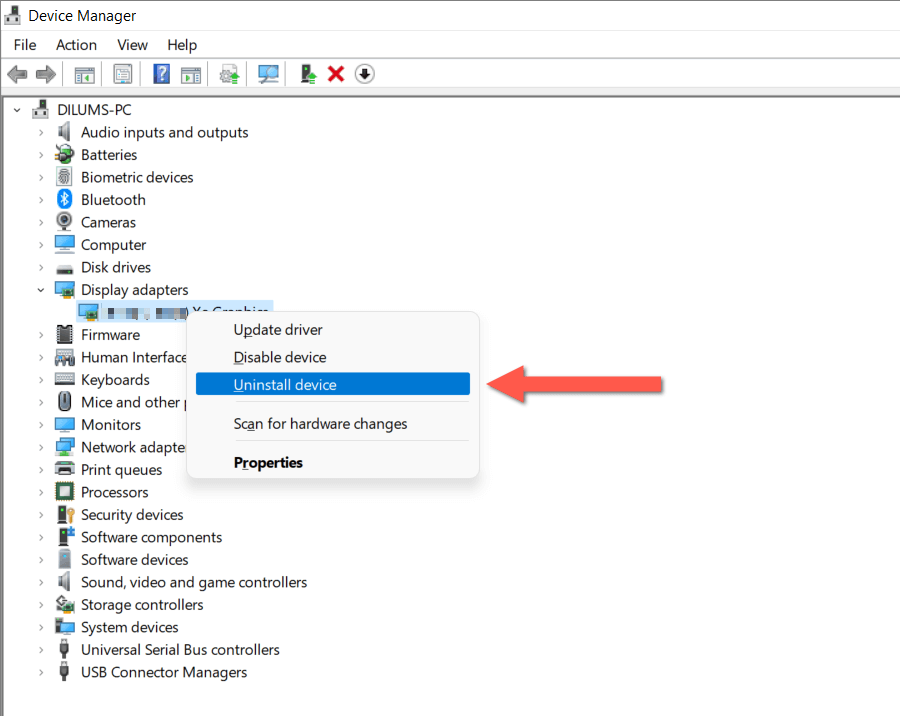
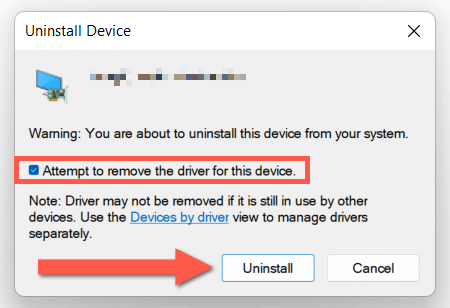
Remove and Clean Install NVIDIA Drivers
Remove your existing NVIDIA drivers to rule out NVIDIA installation and update issues that stem from driver corruption. To do that: Optionally, download and run the third-party Device Driver Uninstall utility to completely remove all traces of your computer’s existing graphics card drivers before reinstalling them.
Run the SFC and DISM Tools
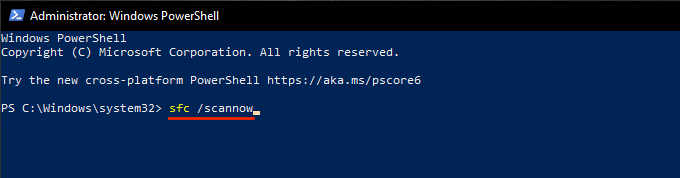
Use the SFC and DISM command-line utilities in Windows to fix graphics card incompatibility issues caused by corrupted or missing system files.
To do that, right-click the Start menu and select Windows PowerShell (Admin) or Windows Terminal (Admin). Then, type sfc /scannow and press Enter.
Next, run the following command:
DISM.exe /Online /Cleanup-Image /Restorehealth
NVIDIA Installer Cannot Continue Error Fixed
The fixes above hopefully bypassed the “NVIDIA Installer cannot continue” error and got your NVIDIA drivers installed or updated to their latest version. If the problem didn’t go away, try factory resetting your Windows 10 or 11 PC. Or, contact NVIDIA Support for further troubleshooting advice.