It helps you, monitor, search and analyze the vast amount of data, (especially in larger environments) into a simple format that you can easily read and digest. Cacti provide a fast poller, advanced graph templating, multiple data acquisition methods, and user management features out of the box. Cacti support the majority of the network devices in use today. from many major manufacturers. including the vast majority of the networking devices deployed. For more about Cacti, please check its homepage. To get started with installing Cacti, follow the steps below:
Install Apache2 HTTP Server
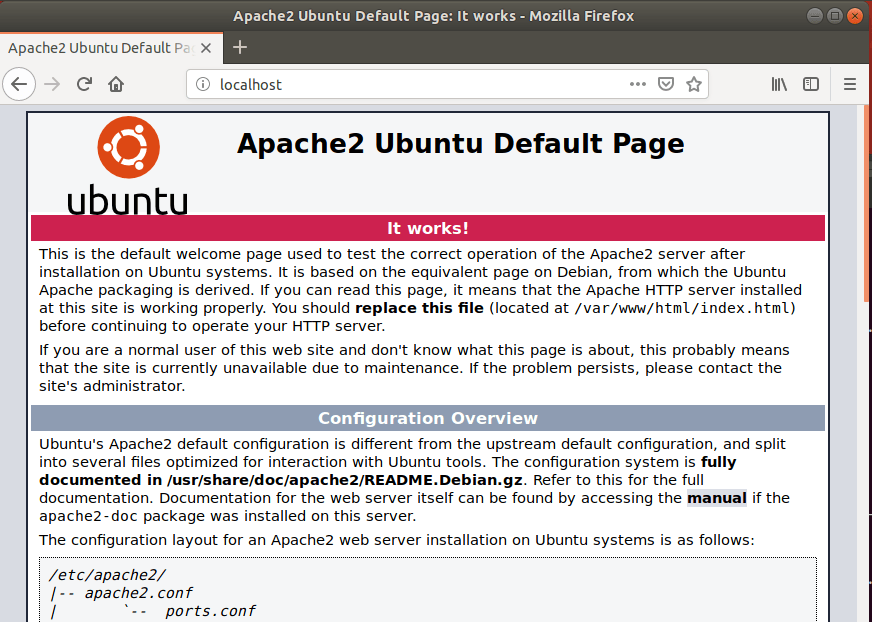
Cacti require a web server and the Apache2 HTTP server is the most popular open-source web server available today. To install the Apache2 server, run the commands below: After installing Apache2, the commands below can be used to stop, start and enable the Apache2 service to always start up with the server boots. Now that Apache2 is installed. to test whether the web server is working, open your browser and browse to the URL below. If you see the page above, then Apache2 is successfully installed.
Install MariaDB Database Server
Cacti also require a database server to store their content. If you’re looking for a truly open-source database server, then MariaDB is a great place to start. To install MariaDB run the commands below: After installing MariaDB, the commands below can be used to stop, start and enable the MariaDB service to always start up when the server boots. Run these on Ubuntu 16.04 LTS Run these on Ubuntu 18.10 and 18.04 LTS Next, run the commands below to secure the database server with a root password if you were not prompted to do so during the installation. When prompted, answer the questions below by following the guide.
Enter current password for root (enter for none): Just press the Enter Set root password? [Y/n]: Y New password: Enter password Re-enter new password: Repeat password Remove anonymous users? [Y/n]: Y Disallow root login remotely? [Y/n]: Y Remove test database and access to it? [Y/n]: Y Reload privilege tables now? [Y/n]: Y
Now that MariaDB is installed, to test whether the database server was successfully installed, run the commands below. type the root password when prompted. If you see a similar screen as shown above, then the server was successfully installed.
Install PHP 7.2 and Related Modules
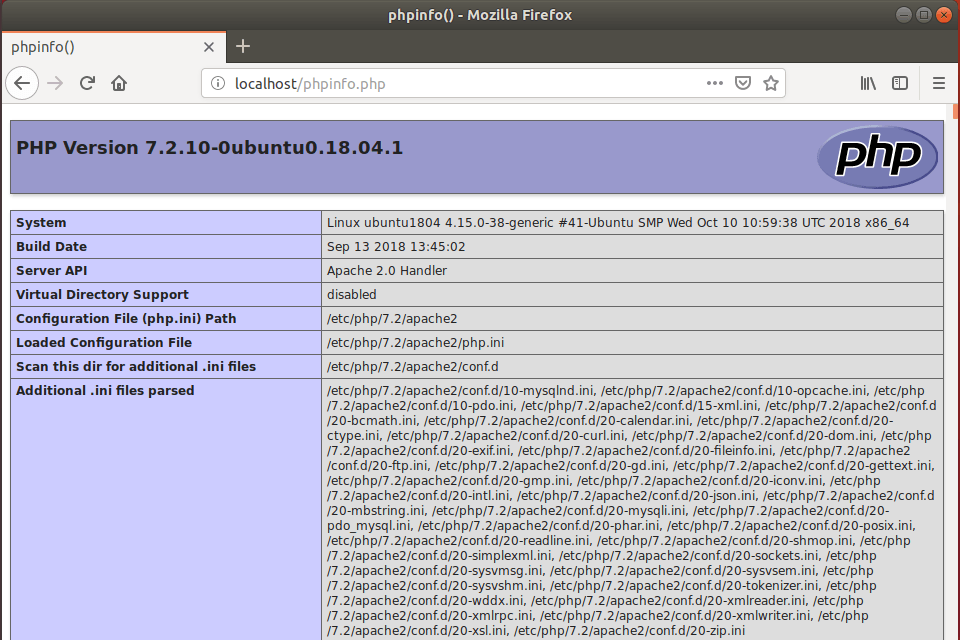
Cacti is a PHP-based app and PHP is required. However, PHP 7.2 may not be available in Ubuntu’s default repositories. To run PHP 7.2 on Ubuntu 16.04 and previous, you may need to run the commands below: Then update and upgrade to PHP 7.2 Next, run the commands below to install PHP 7.2 and related modules. After installing PHP 7.2, run the commands below to open the PHP default configuration file for Apache2. The lines below are a good setting for most PHP-based apps. Update the configuration file with these and save. Every time you make changes to the PHP configuration file, you should also restart the Apache2 web server. To do so, run the commands below: Now that PHP is installed, to test whether it’s functioning, create a test file called phpinfo.php in the Apache2 default root directory. ( /var/www/html/) Then type the content below and save the file. Next, open your browser and browse to the server’s hostname or IP address followed by phpinfo.php You should see the PHP default test page.
Create Cacti Database
Now that you’ve installed all the packages that are required for Cacti to function, continue below to start configuring the servers. First, run the commands below to create a blank Cactidatabase. To log on to the MariaDB database server, run the commands below. Then create a database called cacti Create a database user called cacti user with a new password Then grant the user full access to the database. Finally, save your changes and exit.
Install Cacti
Now that all the servers are installed, run the commands below to install additional requirements for Cacti. During the installation, you will get a prompt to configure a web server. select None You’ll also get a prompt to configure a database. select No After that, run the commands below to open Cacti config file. then edit the highlighted lines and save. After that, run the commands below to import Cacti SQL content into the database using the database account you created above. Next, run the commands below to open snmpd.conf file. then edit the highlighted line and save. When you restart Apache2 and snmpd. Then open your browser and browse to the server domain name. You should see the Cacti setup wizard complete. Please follow the wizard carefully. You should see Cacti’s home page to sign in. That’s it! Congratulation! You have successfully installed Cacti on Ubuntu 16.04 | 18.04 and 18.10. You may also like the post below:


